Removing Deposits from the Base of the Pocket
Elimination of biofilm and calculus is paramount to stabilizing the periodontium and preventing the progression of periodontal diseases.
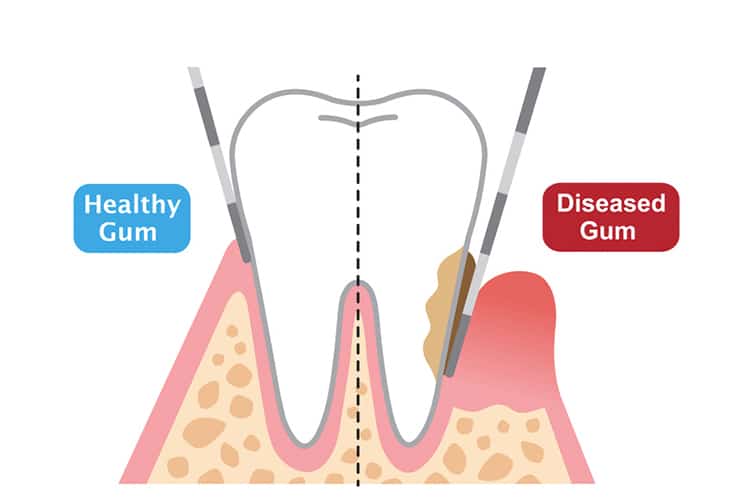
Elimination of biofilm and calculus is paramount to stabilizing the periodontium and preventing the progression of periodontal diseases. These soft and hard deposits incite inflammation and may lead to the destruction of surrounding tissue and bone. Subsequently, periodontal pockets develop and grow deeper; becoming more complex and challenging to manage. To control disease and avoid increased probing depths from occurring, it is crucial for clinicians to gain access and remove all deposits from the base of the pocket. The clinician must comprehend and perform techniques that will allow them to achieve this goal in closed scaling and root planing procedures.
Photo Credit: yomogi1 / iStock / Getty Images Plus
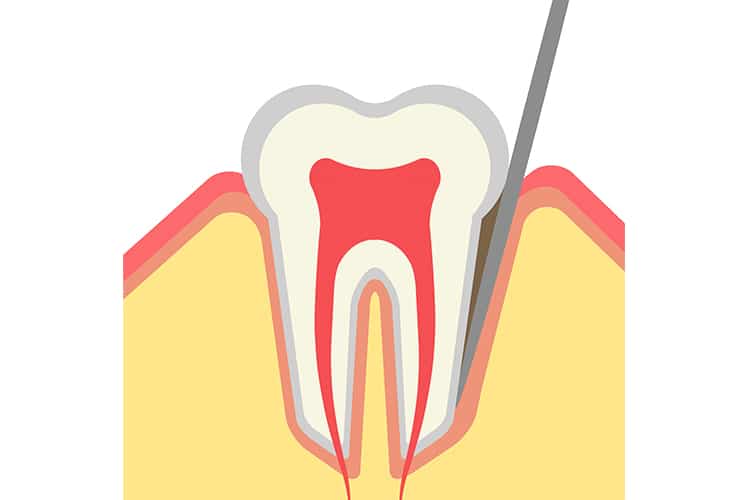
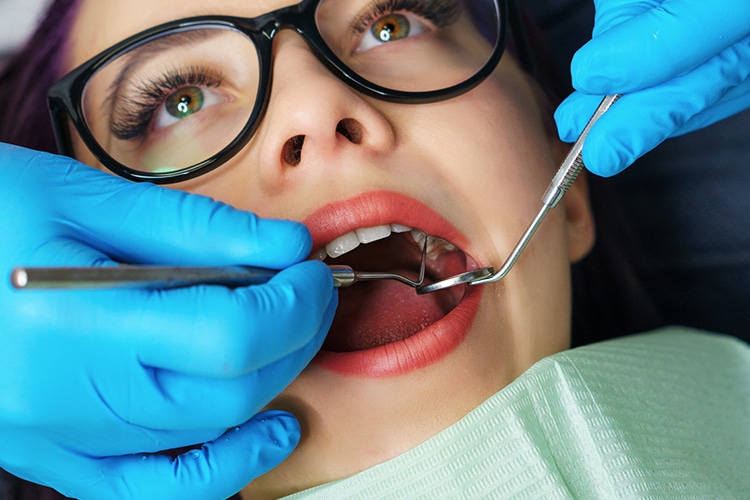
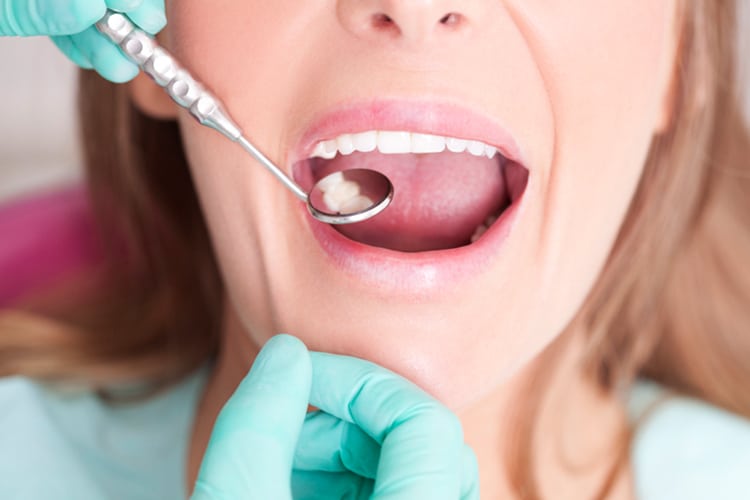
Locating Calculus
Periodontal probing and exploratory detection are critical to identifying the location of biofilm and calculus. By determining the actual depth of the pocket and using overlapping, exploratory strokes, the clinician can precisely hone in on the area where the deposits reside and increase the likelihood of calculus-free tooth surface at the sulcus. The 11/12 extended and #3A explorers are essential parts of the instrumentation armamentarium, as they assist with calculus detection in deep periodontal pockets. The 11/12 extended explorer is an area-specific explorer with the shank design characteristics of the extended 11/12 Gracey curet. Compared to a standard shank length, an extended shank can reach the base of a deep periodontal pocket easily because the lower shank is 3 mm longer.
Photo Credit: laymul / iStock / Getty Images Plus
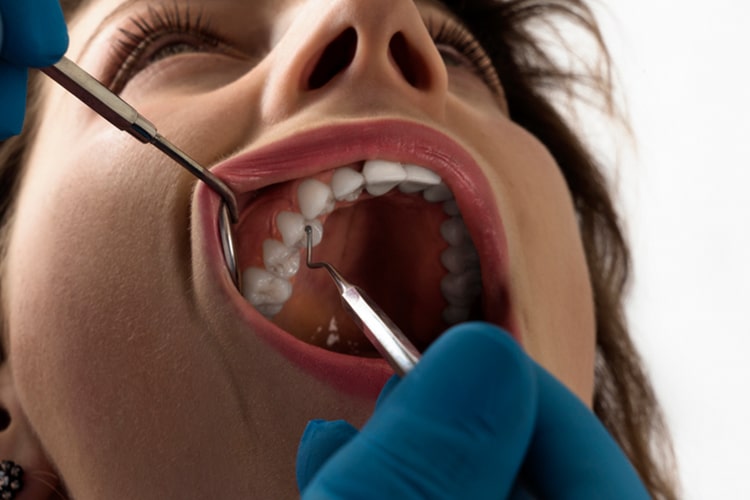
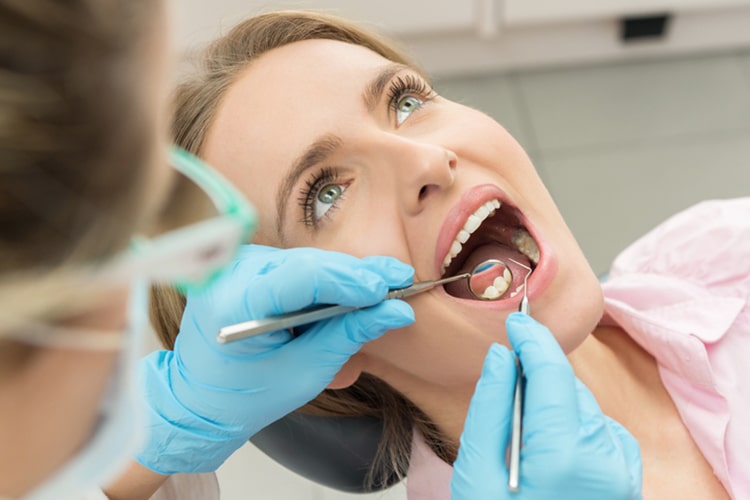
Implementing the Explorer
The #3A explorer has a long, straight shank that curves and has a 2 mm working end. Because of its design, the #3A explorer is best employed when using horizontal or vertical probe-like strokes with the tip pointed apically toward the epithelial attachment. It adapts especially well to the anatomy of the tooth surface with narrow concavities, depressions, and deep pockets of buccal and lingual surfaces. Clinicians must be methodical and attentive when utilizing exploratory strokes to avoid injury to the epithelial attachment due to a pointed tip. Always implement 1 mm to 2 mm of the tip with light to moderate pressure; however, the actual point with firm pressure is ideal when detecting burnished calculus. To ensure the base of the pocket is reached, the tactile sensation is a soft, epithelial resistance and not a porous or hard-like structure. Calculus left undetected may eventually result in a breakdown of surrounding bone.
Photo Credit: sefa ozel / iStock / Getty Images Plus
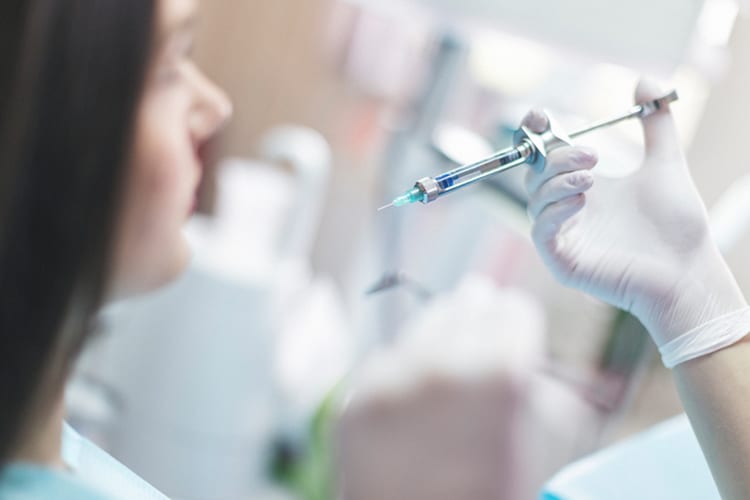
Pain Management
In cases when nonsurgical periodontal therapy (NSPT) is performed, local anesthesia should be administered. The majority of patients with periodontal involvement (greater than 4 mm) experience tenderness as subgingival instrumentation is activated. Failure to access calculus at the base of the pocket is often predicated on the clinician’s reservation to cause discomfort to the patient as the instrument is applied subgingivally.
Photo Credit: danchooalex / iStock / Getty Images Plus
Getting the Grasp Right
Proper modified pen grasp or pen grasp is fundamental for hand or power instrumentation; however, the appropriate use of grasp pressure is critical. A light, relaxed pen grasp to a modified pen grasp should be used for ultrasonic instrumentation, periodontal probing, or gentle exploratory strokes along the tooth surface. When initiating any type of hand instrumentation, such as gross scaling or root planing strokes, a modified pen grasp needs the correct modulation of pressure for soft and hard deposit removal. With situations where tenacious or moderate to heavy amounts of deposits exist, moderate to firm pressure is required for efficacious removal.
Photo Credit: Vagengeym_Elena / iStock / Getty Images Plus
Extraoral Fulcrums
An extraoral fulcrum is predominately employed when instrumenting and accessing deep periodontal pockets. Many clinicians believe that by using an extraoral, alternative (opposite or cross-arch) fulcrum, control and stability will be diminished. As long as the fulcrum finger and whole hand rest on the side of the face or over osseous structure together as a unit, control and stability will be established to prevent slippage during activation. The advantage of an extraoral and alternative fulcrums is that they require an extended grasp to keep the “line of draw,” lateral pressure and leverage consistent throughout the working stroke from the base of the pocket to the contact.
Photo Credit: bob_bosewell / iStock / Getty Images Plus
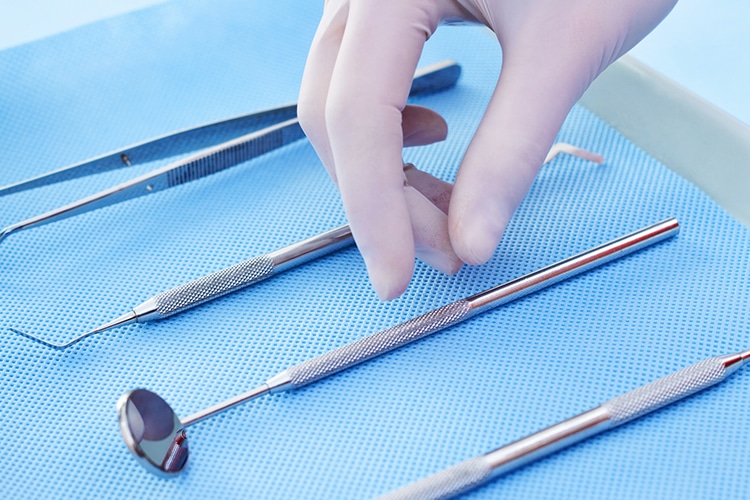
Instrument Selection
Instrument selection is key to reaching the base of the pocket. Assessing the tissue tone, osseous topography, or clinical attachment loss; root morphology; accessibility; quality; and quantity of constituents will determine which instruments are suitable to accomplish complete root debridement. Reaching the base of a deep pocket cannot be achieved if the instrument does not have a longer lower shank. Extended shanks have 3 mm longer lower shanks that are purposely designed to access deep pockets or significant attachment loss greater than 5 mm.
Photo Credit: izusek / E+
Stroke Strategies
Multidirectional strokes are crucial in ensuring complete root coverage. Vertical strokes from the base of the pocket to the margin are the standard stroke direction for removing deposits with hand instrumentation; however, overlapping, vertical strokes alone cannot fully remove all deposits. Oblique or horizontal strokes should follow to finish cross-hatchings strokes. In certain cases, starting with horizontal or oblique strokes is a better option.
Photo Credit: yoh4nn / E+
Clinician and Patient Position
Clinician and patient positions facilitate proper instrumentation technique. By moving or rotating around a patient’s head in all positions (8 o’clock to 3 o’clock to 5 o’clock position), clinicians achieve direct visibility with a variety of fulcrum placements to access all areas of the oral cavity, especially in difficult-to-reach areas. Clinicians can stand for leverage and use extraoral and opposite-arch fulcrums to extend directly down from the maxillary arch to the base of a deep pocket of the mandibular arch. At the same time, the clinician will achieve a state of musculoskeletal balance to protect the body from strain and injury.

Removing Deposits from Base of Pocket:
Please review images related to content as some do not align.
Hi Kathleen, Thank you for the feedback! We will replace the image of the probe over the slide that discusses an explorer. Unfortunately, we are very limited in our choice of images, as stock image houses do not carry many dental hygiene clinical photos.
Thanks again!
Sincerely,
Kristen Pratt Machado
Executive Editor