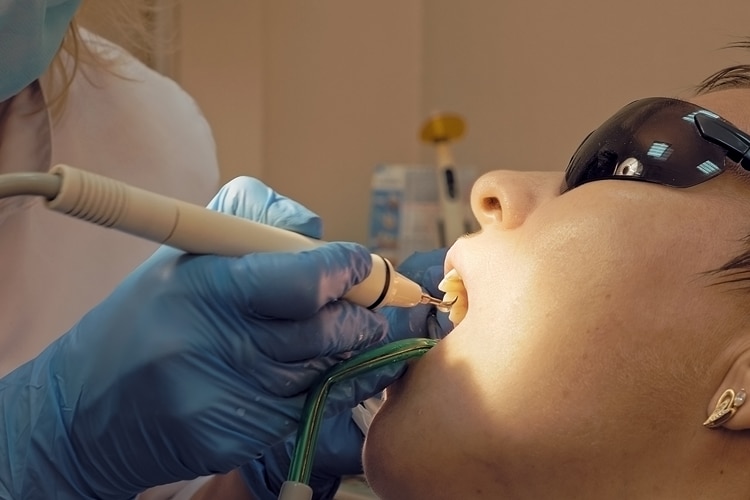
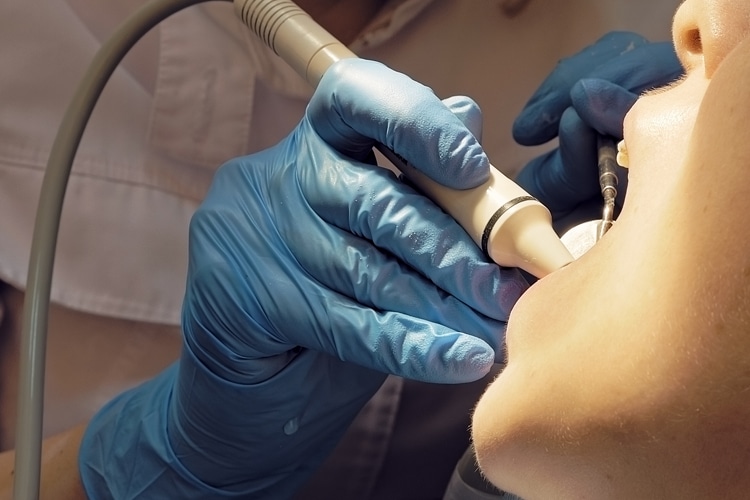
Ultrasonic Instrumentation in Deep Pockets
Periodontal pocket depths greater than 5 mm, as measured by a periodontal probe, are considered deep pockets in nonsurgical periodontal therapy.
Ultrasonic Instrumentation in Deep Pockets
Periodontal pocket depths greater than 5 mm, as measured by a periodontal probe, are considered deep pockets in nonsurgical periodontal therapy. Probing depth is an essential disease parameter for planning a patient’s individualized debridement for initial periodontal therapy.
Photo Credit: kirill4mula / iStock / Getty Images Plus
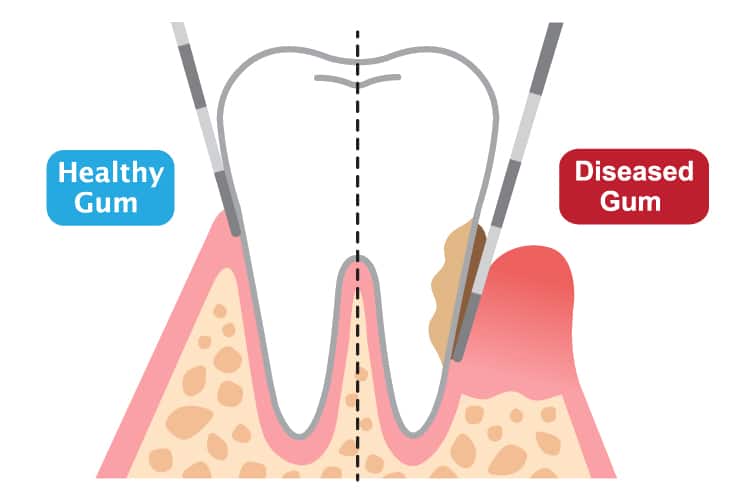
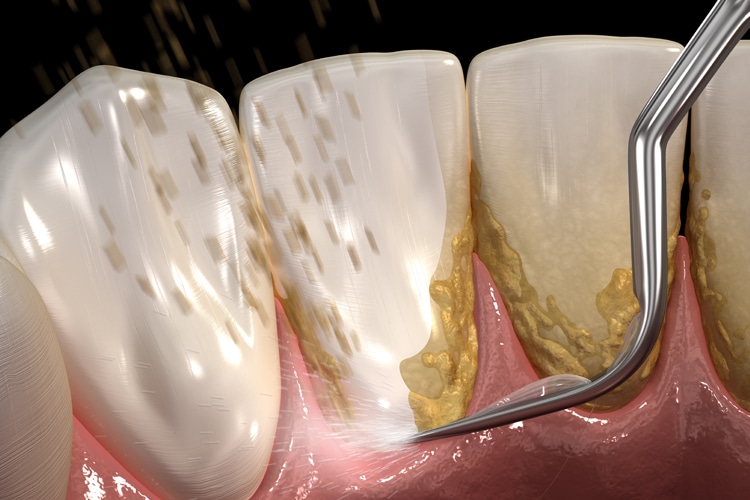
Assessment Is Key
Although periodontal probing depth is important when planning instrumentation, additional disease indicators should be taken into account. The probing depth must be considered with the clinical attachment level to gain perspective on the patient’s root structure and his or her disease status. The topography of the periodontal pocket requires analysis. Periodontal pockets can be wide and curved (bathtub shaped) or narrow and long (cylindrical shaped). Also, calculus size, tenacity, and location within the pocket are significant. The use of an explorer designed for periodontal instrumentation (eg, extended shank 11/12) is essential to evaluate the type of deposit. Additionally, the degree of inflammation, bleeding on probing, furcation invasions, tissue tone, and location of restorations should be considered.
Photo Credit: yomogi1 / iStock / Getty Images Plus
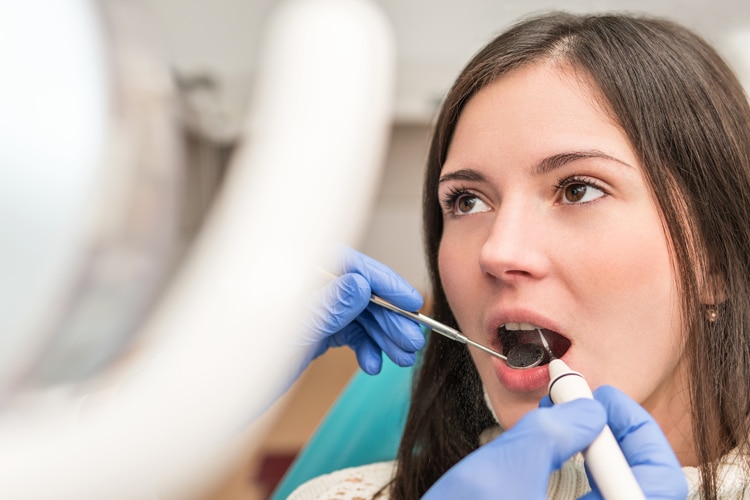
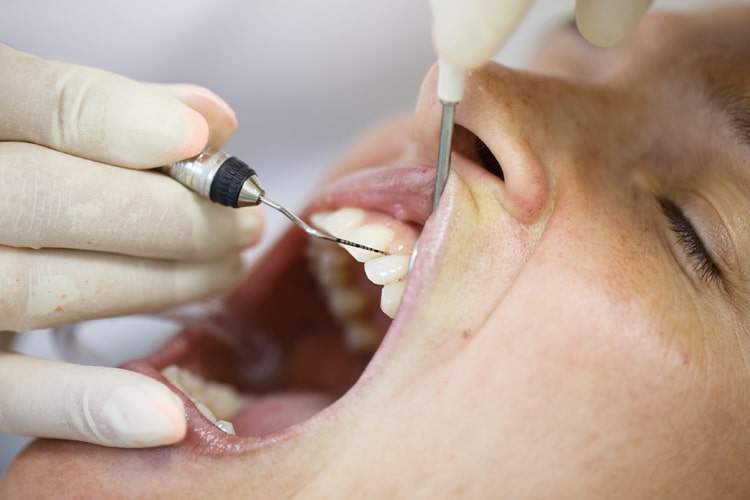
Beginning Periodontal Debridement
To begin periodontal debridement, decide if the pocket environment can be instrumented from the epithelial attachment (EA) to gingival margin (GM) or vice versa. Often with deep pockets, the approach will be from the GM to the EA. Conversely, moving from the EA to the GM in deep pockets will only be appropriate if the EA is easily accessed due to inflamed gingiva or the presence of only light to moderate nontenacious calculus. Initially, adapt the UIT by touching the deposit with the pointed or blunt end, depending on the UIT chosen. Generally, the active tip area is used to engage hard deposits during instrumentation; however, use of the end is best for calculus removal in this circumstance.
Photo Credit: GrashAlex / iStock / Getty Images Plus
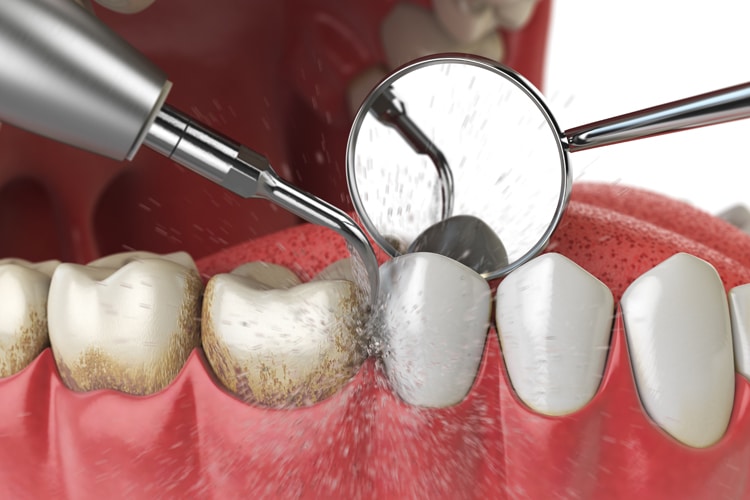
Can the Root Be Debrided in its Entirety?
Decide if the pocket can be debrided in its entirety from GM to EA or if it would be advantageous to divide the pocket into sections. Concentrating on activation in these two sections aids in thorough debridement. The coronal most portion can be instrumented, followed by instrumentation of the apical section. This decision depends on the topography of the pocket, type of calcified deposits within the environment, and where the calcified deposits are located on the root.
Photo Credit: Bet_Noire / iStock / Getty Images Plus
Second Stage
The second stage of periodontal debridement occurs after the large deposits are removed. For deposits in bathtub-shaped pockets, oblique strokes from the EA to the GM are activated adapting the active tip area (eg, 2 mm to 3 mm). Horizontal and vertical strokes are also used to thoroughly remove plaque biofilm and calculus.
Photo Credit: kirill4mula / iStock / Getty Images Plus
Narrow Pocket Depth
Narrow pocket depth can manifest on any surface, often creating challenges. The pocket contour might be narrow on an anterior or premolar tooth surface, such as the facial, or a posterior tooth on the buccal surface of either the distal or mesial root. Even greater challenges occur when the location of the narrow pocket is at the line angle or on proximal surfaces.
Photo Credit: alex-mit / iStock / Getty Images Plus
Consider Pocket Depth
The approach will move from EA to the GM in the second stage of instrumentation. The motions can be across the root from side to side or in varying directions accomplishing crosshatching, if space permits. Again, pocket depth is considered when determining if debridement will be from the EA to GM in its entirety, or if the depth will be divided into two sections: one at the apical end and one toward the GM. Mini- or micro mini-bladed curets are useful in the narrow pocket for completing scaling and root planing.
